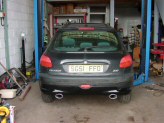
Building a duplex system
This series of photographs shows the process of building a duplex system on a Peugeot 206. As you can see there is a lot more to it than you think. Contact us today to see what we can do for you.
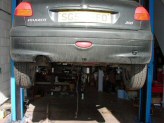
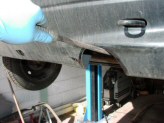
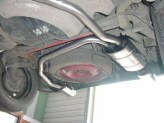
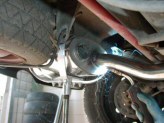
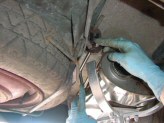
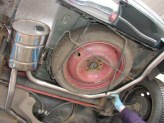
The original system is removed and a second cut-out is made in the bumper to mirror the original.
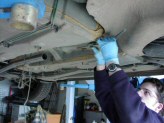
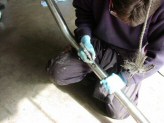
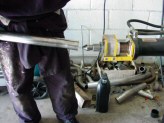
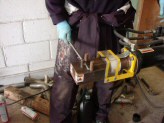
With the original system removed a clever little home-made deviceis used to measure the angle of any bends on the original system and then transfer them to the new pipe. This only works on sections where the original shape is being replicated. It is then checked against the car for accuracy.
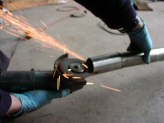
A bit of guestimation is now employed to get everything sitting perfectly. The pipe is then cut to length.

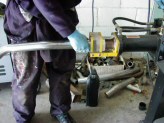
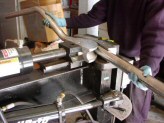
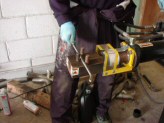
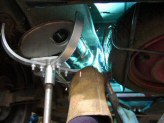
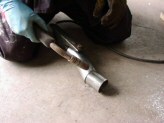
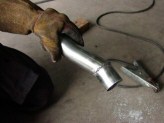
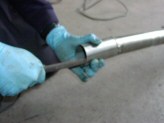
If the pipe is bent near an end it goes slightly oval and needs to be made round again using an expansion piece on our bending machine
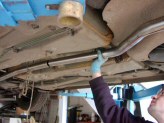
Now the pipe is round again it is offered up to the backbox.
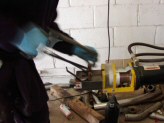
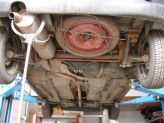
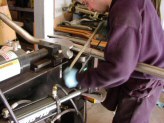
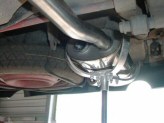
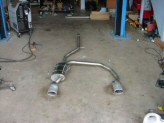
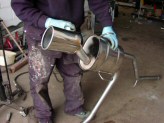
The pipe is now tack welded to the front section which was sneakily made earlier (we forgot to take photos!)and to the backbox. Due to space restrictions a duplex box is used to ensures equal gasflow out both tailpipes. If the spare wheel had been removed then a Y-piece would be used with a box at each side
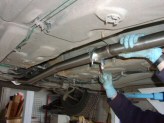
Each hanger is custom made on another part of our bending machine.
It is then cut to length and tack welded in place.
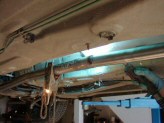
This section is now fully welded up so that any heat distortion in this part wont affect the lining up of the tailpipes later in the build. The second half of the duplex system is bent to shape and another type of bracket is made to support the exhaust on a suitable point on the chassis.
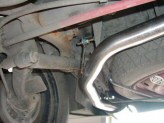
On this particular system two bends were required very close together to align the tailpipe. This has a tendency to buckle the pipe and reduce the airflow – our solution is to weld two pieces of pipe at a shallow angle so that the bore of the pipe is maintained.
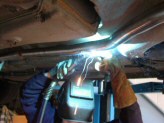
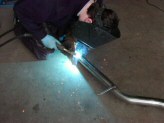
The tailpipes are positioned and with fingers tightly crossed tack welded in place!
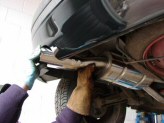
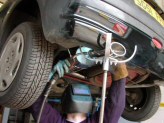
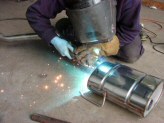
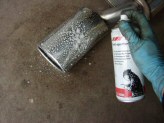
Once solidly tacked the system it is removed from the car and all the welds are completed. Anti spatter spray is used to help stop sparks from the welding sticking to the mirror polished tailpipes.
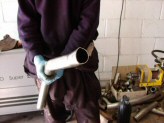
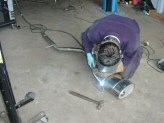
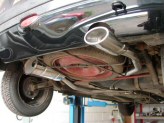
Slots are cut into the pipe at the front of the system where it has been flanged out to sleeve over the front section. On systems such as this one where it is unavoidable that a box will be seen from behind the car we spray the box black so it does not detract from the look of the tailpipe.
Finally the system is put back on the car and an exhaust clamp used to connect it to the front section.